dumpster dresser no more
So remember back in early 2014 {I can say that now that 1/6 of the year has gone by, right?} when I told you I went on a dumpster shopping adventure?
Well things are finally looking brighter.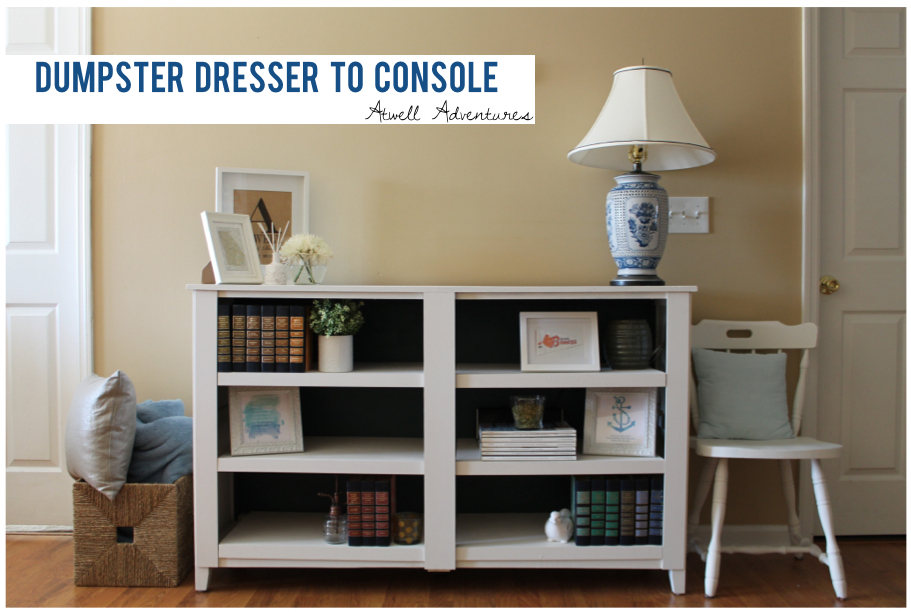
Especially considering that they started like this.
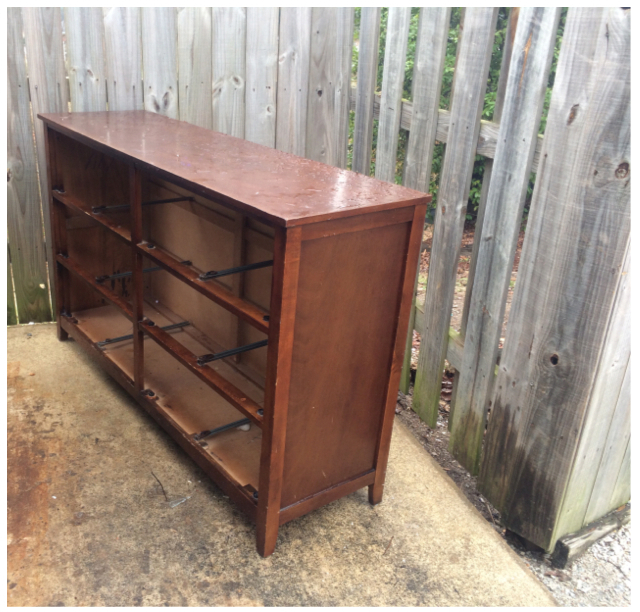
So let’s go back to New Years Eve. I drove to our community dumpster and there was a dresser, sitting all alone in the cold.
I thought to myself, I should take this, but honestly didn’t know what I would do with it. Afterall, it was missing all the drawers.
So I left it. Then when I found myself still thinking about it twenty-four hours later, I decided I would stop on the way home from getting groceries and see if it was still there.
It was. And now that it was beginning to rain, I decided I didn’t have time to wait for G to help me come back and load it. This was coming home with me right then.
So after some awkward maneuvering, I managed to get it in the back of my car {yay for SUV’s!}.

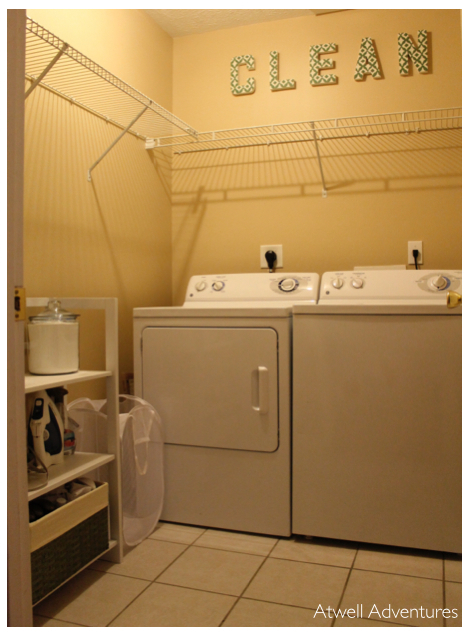
And then I cleaned it as much as possible and moved it to its new home… a big blank wall in our living room that was wanting some furniture in front of it.

When I picked it up on that rainy day, I knew I wouldn’t use it as a dresser, but rather as a bookcase or console. I gave myself a few days to think about how best to go about getting it there and then I went to work.
First thing I did was to remove the drawer tracks.

With two screws each track, it only took about 10 minutes to remove all of them and already I saw improvement.

Later that night I sent a text to one of my brother-in-laws who has recently built some tables and benches. I asked him about different types of wood, plywood, and mdf and asked what he recommended to use for shelves and the next morning I was off to Lowe’s.

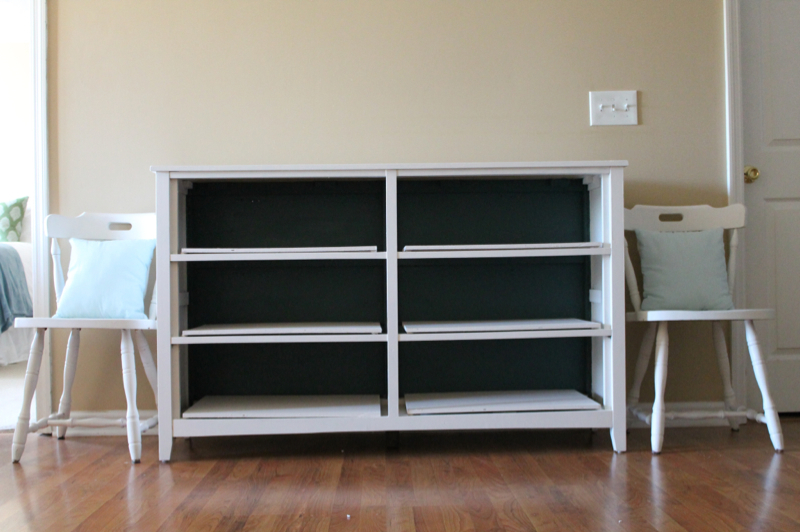
I picked up some plywood for the shelves, and one of the small test pots of paint which I had color matched to Benjamin Moore’s Dragonfly. I wanted the back of the case to be a different color {like seen on Young House Love} and the rest of the piece would be Olympic Country Beige, which I already had on hand from previous painting projects.


Once I finished all the painting, I realized because of the depth of the piece, you don’t really notice the back is a different color. Still glad I tried it though.
The next step was to position all the shelves. Now here’s where I tried to save a few dollars.
The measurements for the shelves to be flush on both sides were 26”. The plywood I found at Lowe’s only came in 48” so in order to save, I had it cut down to two 24” boards. I knew I was going to use trim to cover up the differences so I thought it would work.
While you can still see the gaps on the sides at certain angles, I was overall pleased with how well the trim helped to conceal everything. For the trim, I chose various widths to give it some dimension and then used liquid nails to secure the trim in place. Once the liquid nails was set for a few minutes, I went back over with painters tape to hold it in place so it could dry.

When all was finished drying, I peeled the tape off and started loading things on. We still have a long way to go – and a gallery wall to arrange overhead but my dumpster piece, you’ve come along way.