
Last week, my sweet husband had the opportunity unfortunate job to live in the field for a week!
So why didn’t I tell you this sooner? Well, what if someone came across my blog, realized that the only person who knows how to operate the gun was going to be away for four nights, found my address, and decided to pay me a visit. No thank you, I’ll just keep that little bit of top-secret information to myself {and the family that I asked to pray for me so that I wouldn’t be scared}.
Here’s what I did {and didn’t do} while he was away…
- Skipped my weekly trip to the grocery store and making dinner each night {I got REALLY creative by the end of the week… smoothie, anyone?}.
- Held off the dreaded laundry day from Monday until Friday.
- Stayed up until 12:30 each night so that I would be tired enough to sleep all night {worked like a charm}.
- Made sure the doors were always dead bolted at night. Twice.
- Slept on the right side of the bed and didn’t move the pillows from the left side while I slept {can making the bed always be this easy?}.
- Said goodbye to my last week of cable.
- Showered {I’ll let you decide if that was a did or didn’t do item}.
The weekend before he left, I tried to think of things that would be good to get checked off my to-do list, specifically things that were a little more time/space involved and that I might not normally have the opportunity to do. So with my extra time/space came my first big furniture painting project… our tv stand.
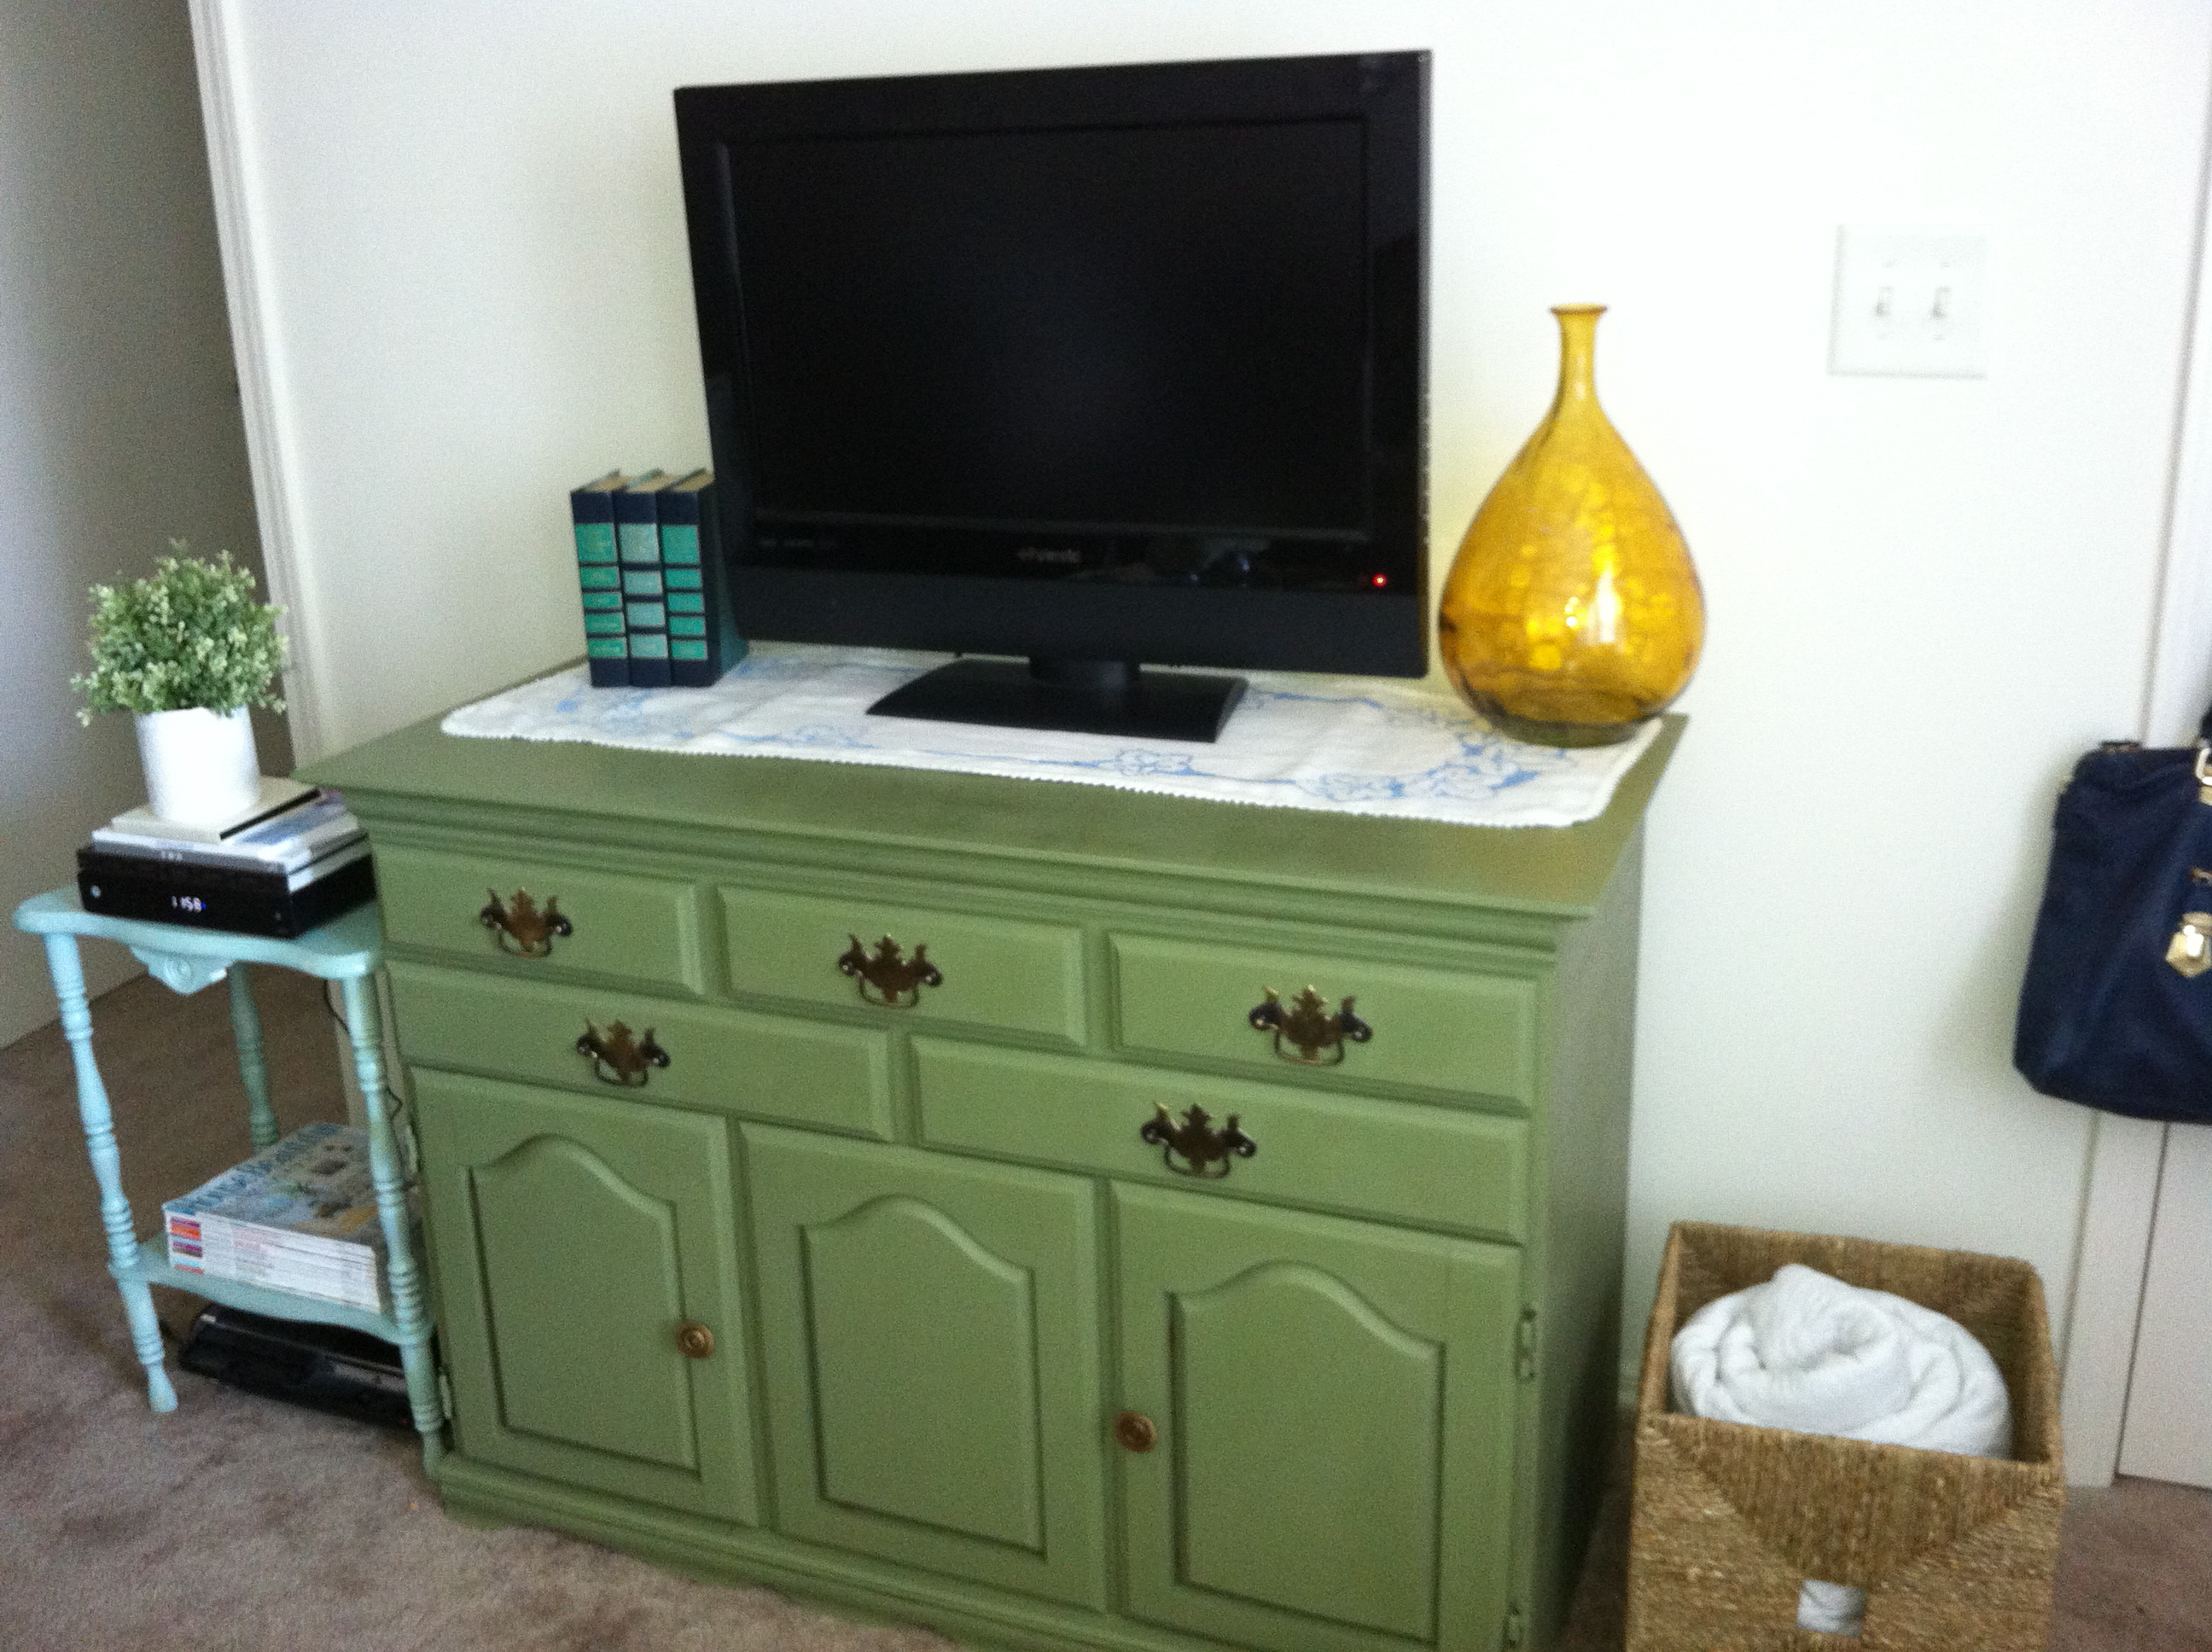
Over the last few years, one of the biggest things I’ve learned about furniture is that you don’t have to use something where it was made to go, for example a dresser can be used as a night stand, an sofa table for a desk, and in my case for this project a china cabinet base for a tv stand.

Before we moved into our apartment, I tried to think of pieces that would give us more functional storage without taking up to much space, and bonus points if we already owned the piece. Well we didn’t own this piece, but my parents did and weren’t using it so it came with us to North Carolina and has made itself at home in our living room.
I knew I wanted to paint it, but I took my time trying to decide on a color that would act as a neutral but still be fun. When I came across my dream kitchen over at Life In Grace Blog, I knew the green color she used would work on our tv stand too. When I showed it to G, he said he liked it – and with those words of approval, we were all set.
Great Barrington Green, you are my new friend.

To ease it to the project of painting a large piece, I started out with a room divider that needed some love. I disassembled it, removed the hardware and got to put one of my favorite wedding gifts to use: our sander!

Since this was my first {of many} painting projects, I decided to test out a chalk paint recipe I had read about. Chalk paint goes on thicker, doesn’t require sanding {I still sanded just to make sure it would stick}, is good for distressing, and dries fast. The recipe I used called for 1 tablespoon plaster of paris and 1 tablespoon of water, and once they are mixed well add my 8 oz. of paint.

Honestly, after the first coat I was less than pleased. I think I needed to add a little bit more plaster of paris. I decided to keep on going.

After letting the first and second coats dry, I was left with a nice chalky even finish… exactly what I was going for! It worked!
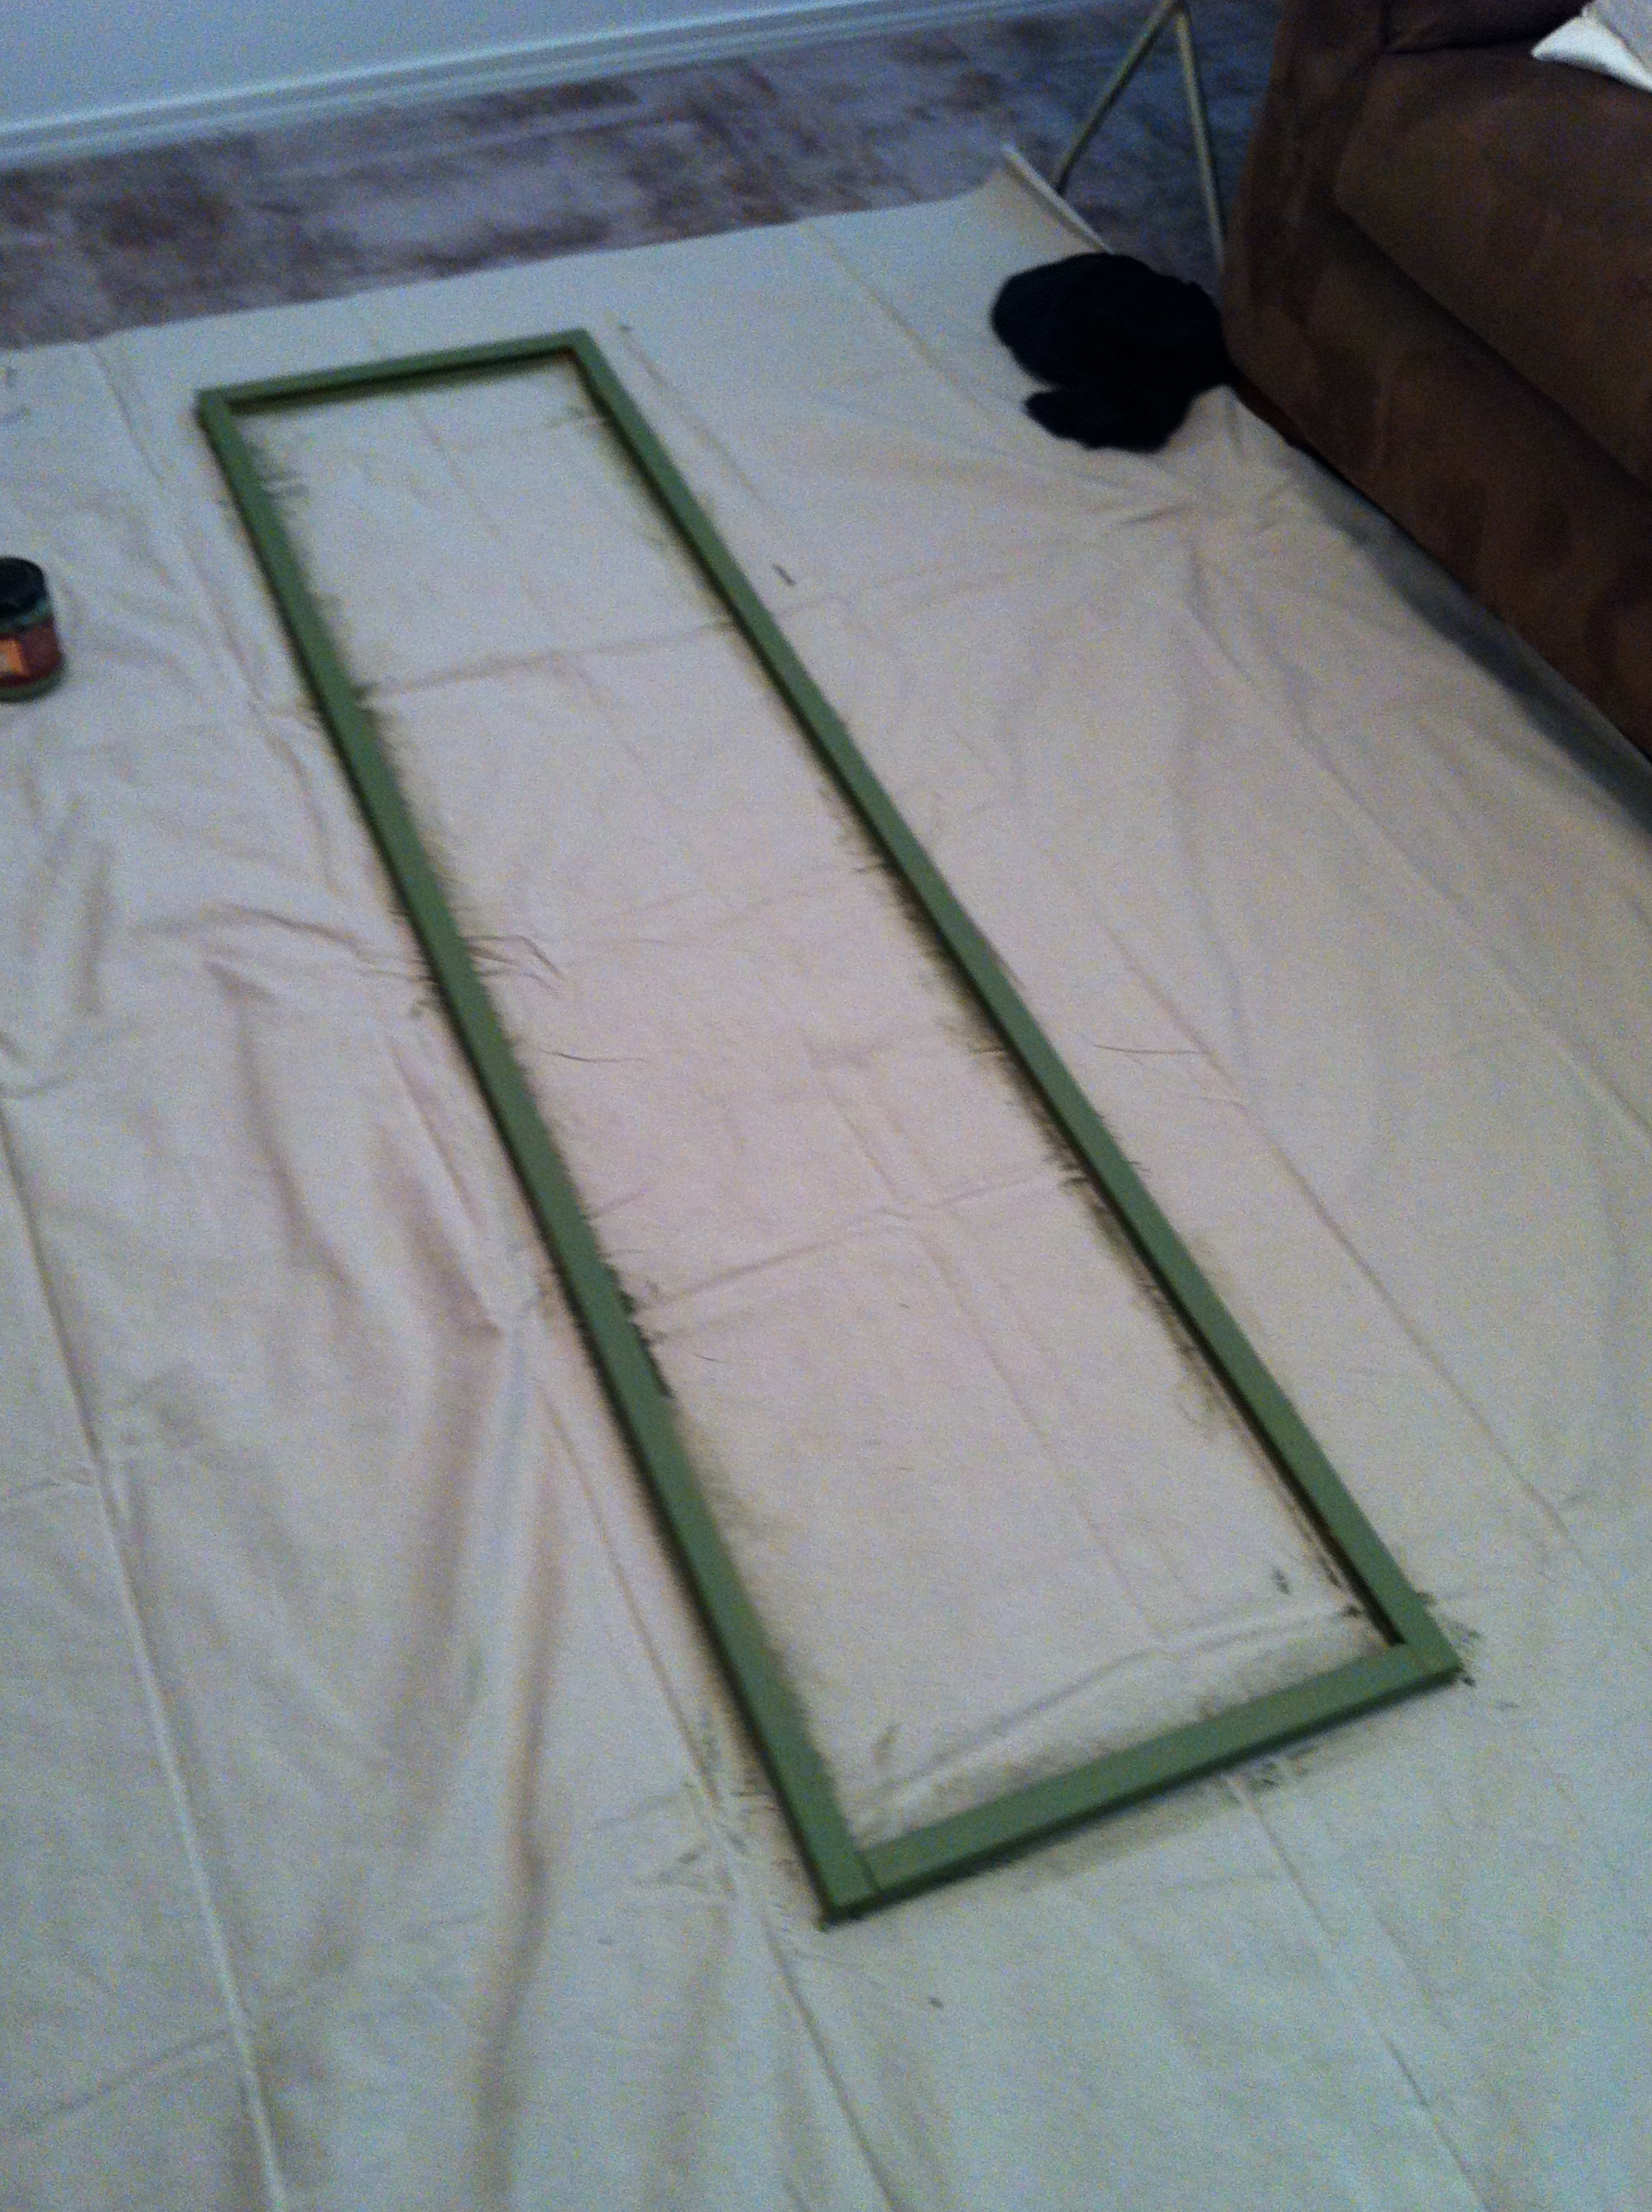
So four of these panels front and back later, I was finished and ready to reassemble. This project is still in the works – I’m planning on adding some fabric to the middle of the screen… maybe something like this?
So after I gained a little bit of chalk paint confidence it was time to get to work on our tv stand. I took out all the drawers/doors {except for the middle door – it doesn’t come out, and the bottom right door which screws were not playing nice}, removed the hardware, placed a drop cloth underneath the cabinet, and got to work. Once again, I sanded for my first step even though it says you don’t have to.
After the first coat I was worried again. I guess because this wood was dark, it made sure to show itself through. All I could think was – this is going to me until Friday when G gets home… and its only Tuesday… or is today Wednesday? I don’t know.

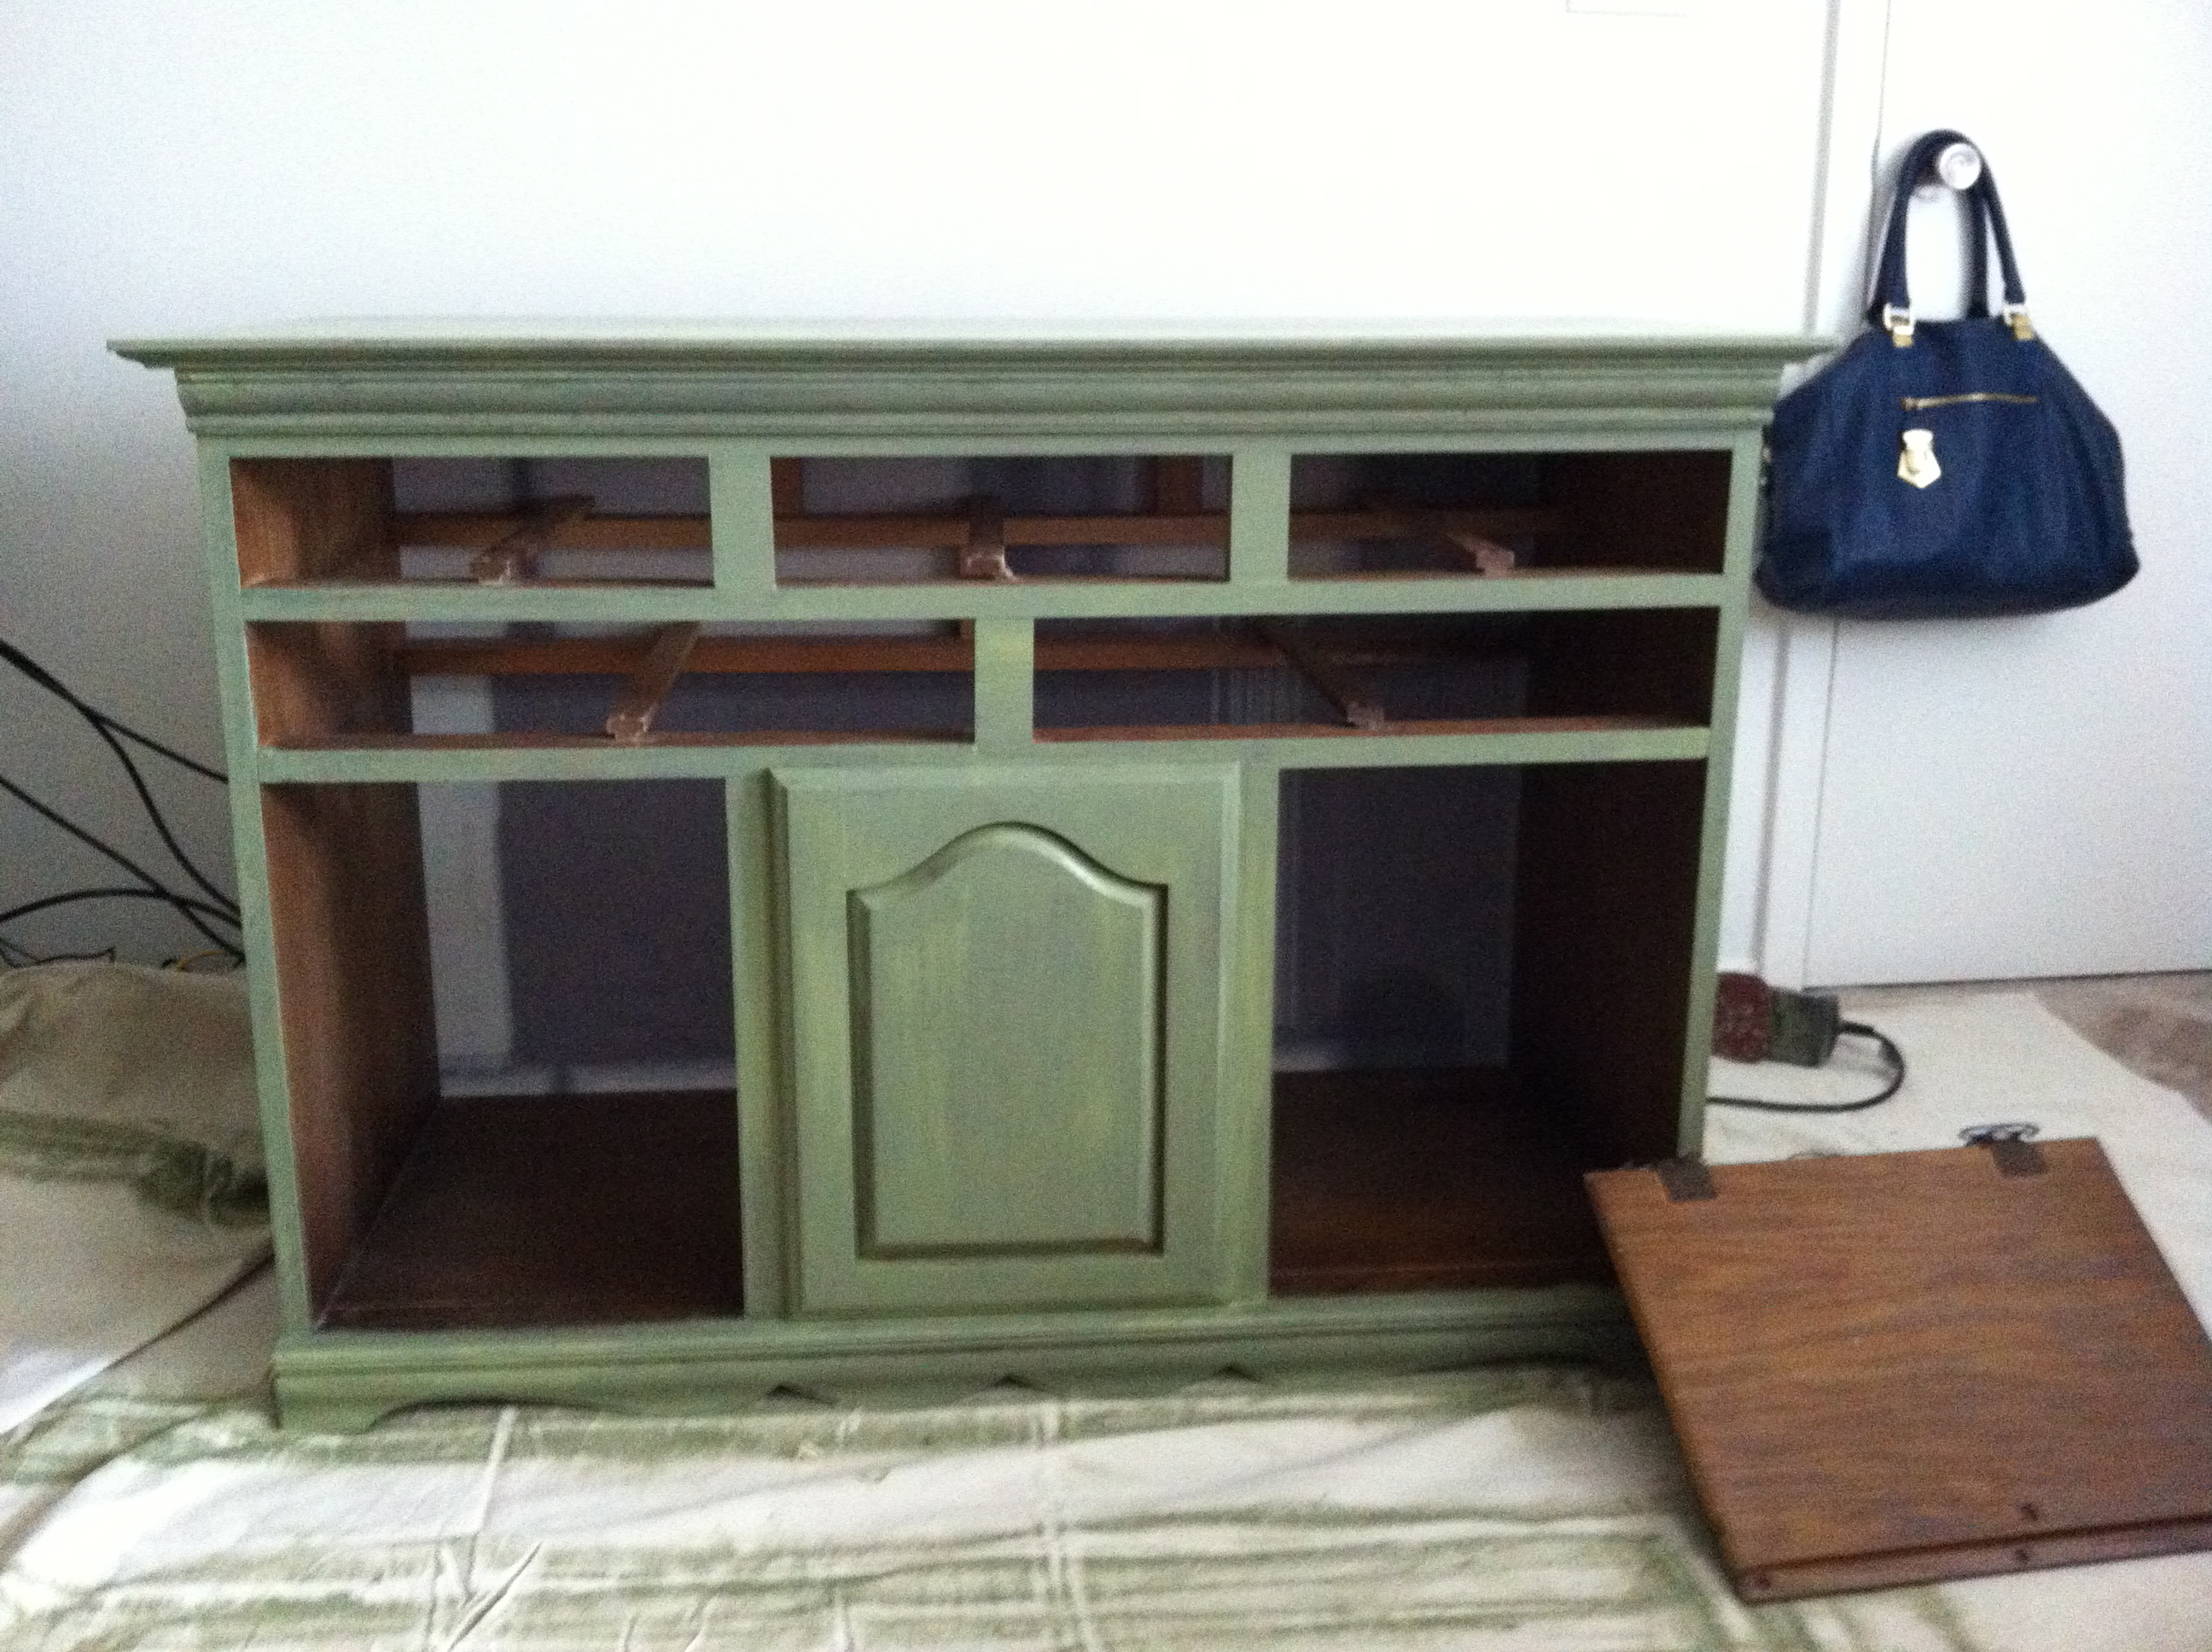
But shortly after applying the second coat and stepping back – I let out a squeal and sent a text to G! It worked! The only thing left to do was wax it {I used Minwax Paste Finishing Wax}.

One thing that really surprised me was how quickly I was able to do this. It usually takes me for-e-verrrrr to paint something but this only took about 4 hours from start to finish – which is very fast for me.
And now we have one less piece of brown in our apartment!
Ten points: Rachel.
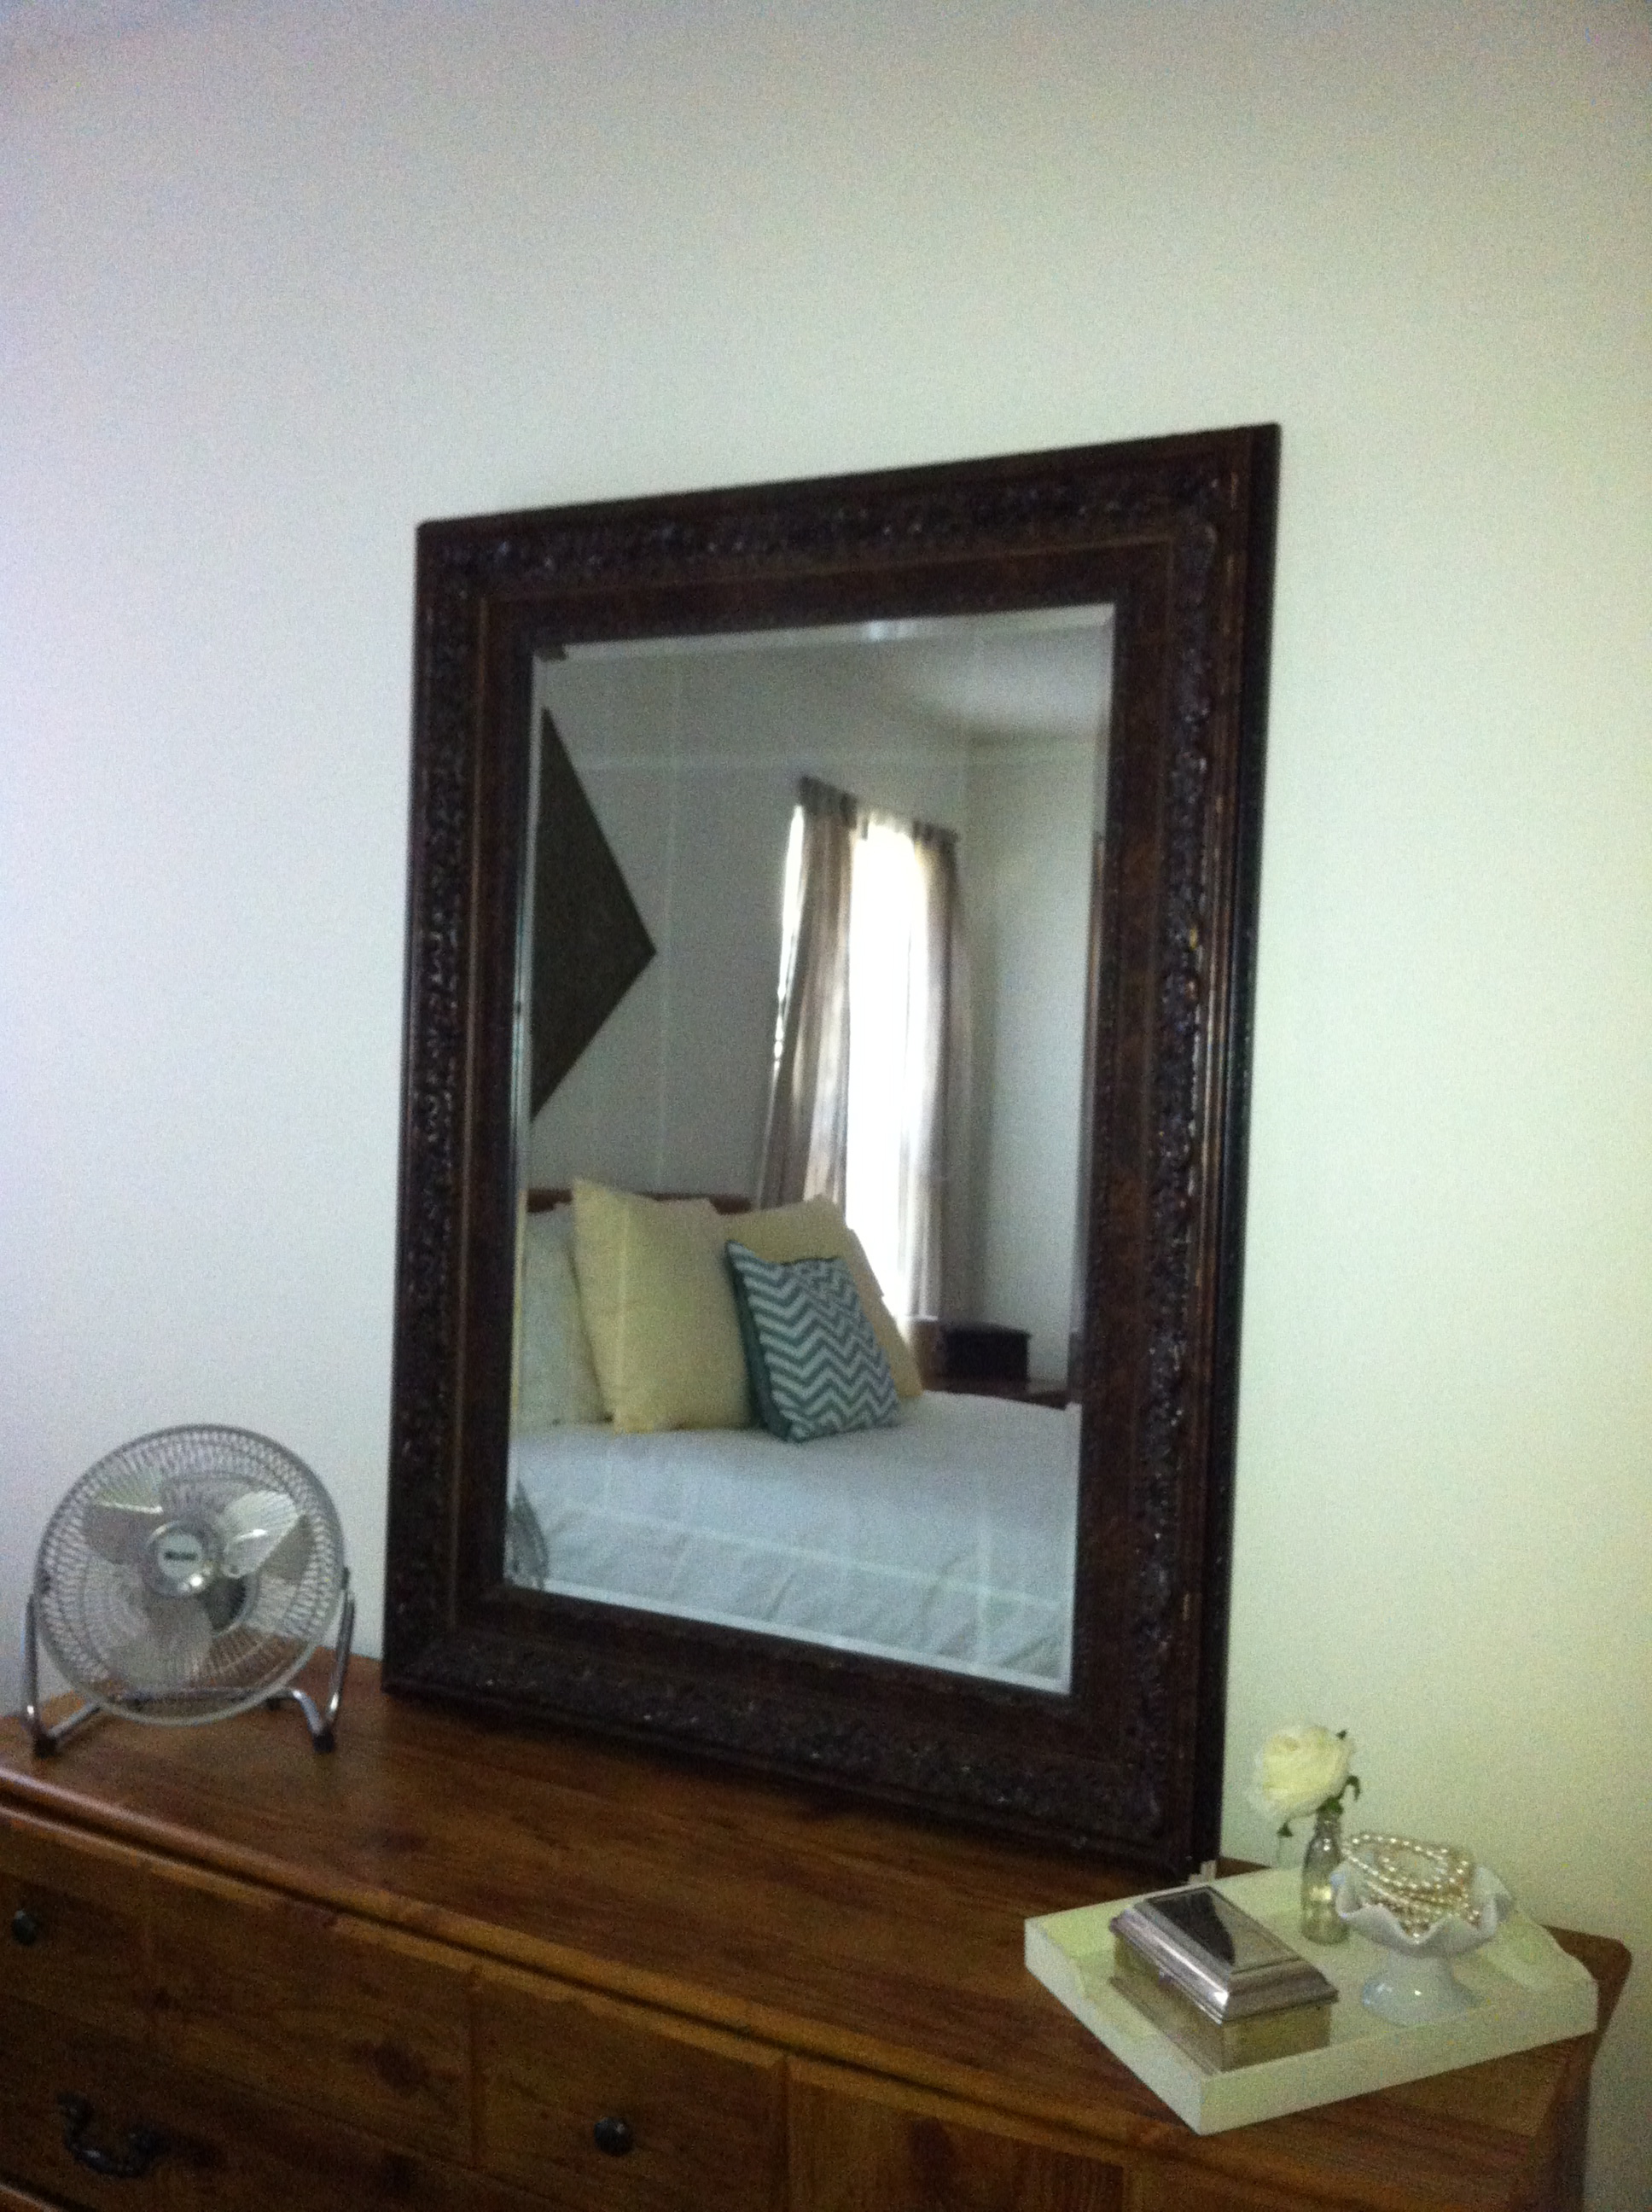
Next up on my painting schedule… our dining room table and chairs, and this mirror I found on Craigslist {and about 6 other things}.
Until then, I’m enjoying having my husband at home and back on the right side of the bed again.
Even if it takes more time making the bed in the morning.

mighty fine job there Rachel!
thanks Daddio!